




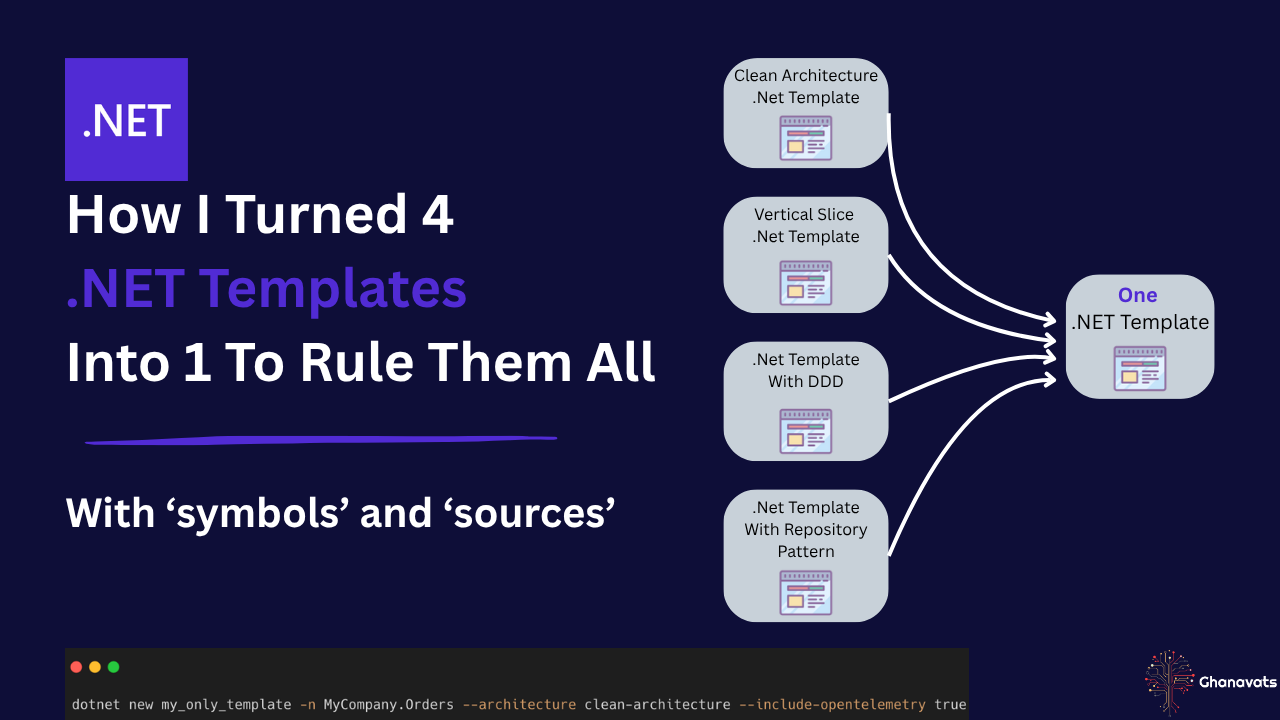
In my previous article, Stop Recreating .NET Solutions From Scratch, I introduced and showed how easy it was to create your own template and generate projects and solutions from it over and over again. Taking away a lot of the pain and repetitive setup.
I want to make a confession. I went ahead and created a few .NET templates, one for Clean Architecture, one for Vertical Slice (why not, it’s a trend now!!), and one with DDD primitives, and I went crazy further and created another but with Repository Pattern stuff configured in it. How many templates? Four. Four templates. Four reasons to come back to every single one of them. Four reasons to touch and fiddle with every single one of them and try to find a way to fix the OpenAPI package vulnerability that happened to all the developers on the entire universe no more than a few weeks ago. 😁
I did need them all to be fair. I needed the one specifically with Repository Pattern, and the others without so I could do some other research on whether I should stick with Repository Pattern, or if it’s just not worth it. Another article for another time.
I made a YouTube video after the first article. You can watch it here. And I did mention in there, yeah why not make multiple templates and maintain them all until you go officially insane?
You can tell that it may feel like I was cursed or coerced to just go mad with .NET template engine. Just because it’s there and available, I thought yep let’s get it used for EVERYTHING.
Wouldn’t it be so cool if it was possible to configure, in a logical way, the behaviour of your .NET template? To have one .NET template that changes based on user input. I mean like it doesn’t matter what architectural style, what third-party libraries, what solution folder structure, naming conventions etc etc. All the configurations would be handled by the template engine based on what the users want. Perhaps it would be. Wouldn’t it?
One Template To Rule Them All (Yes, Really)
Please don’t let your inner self make you feel comfortable with the basics of templating. It will not give you the ultimate benefit you deserve.
I began researching this a bit further and found out how much I was missing out on. The .NET Template Engine is much more mature than I was able to imagine. The dotnet new command is amazingly flexible and works very well with custom templates. I mean, a really custom, configurable way to build templates. 😉
Four Templates Was Never the Answer
I hope that I have your attention by now. Trust me, you don’t want to pile up .NET templates. It’s a bad practice, hard to maintain, still easy for things to go out of control. Yes, even though you fixed the first problem of creating .NET solutions from scratch by copying and pasting your previous ones. You just created a new problem. 🤔
Remember: A useful template should not be a dumping ground for every idea you have ever had. It should be what you really need.
How I Rescued Myself With symbols and sources
Thanks to the maturity of the .NET Template Engine, I have researched and learned how to configure the template.json to accept inputs from users using symbols and sources.
This is not a hack. It’s a proper, official way to construct a template that can generate different outputs based on symbols and custom parameters. The content of the symbols in the template.json file is then used in the sources to define the conditional statements based on the user inputs with those custom parameters, so then the appropriate action can be taken.
Read on if you are keen to learn how I put everything together.
Step 1: Teaching the Template to Ask Questions
The template.json file was amended with the following addition first - the parameters I want to get from users.
"symbols": {
    "architecture": {
      "type": "parameter",
      "datatype": "choice",
      "allowMultipleValues": false,
      "description": "The architecture of the project",
      "choices": [
        {
          "choice": "clean-architecture",
          "description": "Clean Architecture with multiple projects"
        },
        {
          "choice": "vertical-slice",
          "description": "Vertical Slice Architecture"
        }
      ],
      "defaultValue": "clean-architecture"
    },
    "include-opentelemetry": {
      "type": "parameter",
      "datatype": "bool",
      "description": "Whether to include OpenTelemetry support in the project",
      "defaultValue": "true"
    }
  }
This was added at the top level of the file. Make sure you don’t put it by mistake inside any of the nested sections in the file.
The above snippet allowed me to do this:
dotnet new simple_template -n MyCompany.VerticalSlice --architecture vertical-slice --include-opentelemetry false
I was buzzing at this stage. 🐝
The next snippet was like glue. Wired everything together and made everything work - sort of!
The following, as I briefly touched on, consists of the conditions and the behaviours I was hoping for:
  "sources": [
    {
      "modifiers": [
        {
          "condition": "(architecture == 'clean-architecture')",
          "exclude": [
            "Simple.Template.Api/Features/**"
          ]
        },
        {
          "condition": "(architecture == 'vertical-slice')",
          "exclude": [
            "Simple.Template.Core/**",
            "Simple.Template.UseCases/**",
            "Simple.Template.Infrastructure/**"
          ]
        }
      ]
    }
  ]
It worked when I executed the dotnet new command I wrote above. A new .NET solution was created, with only one API project in it - MyCompany.VerticalSlice.Api. Including the folder structure I designed in the template suitable for Vertical Slice architecture style. Excluding all the Clean Architecture related projects.
My problem was solved - sort of!
Getting the project structure to switch based on architecture was the easy part. The harder question was: what about features that aren’t a whole architecture style, just a switch — like whether to include OpenTelemetry at all?
Step 2: Making OpenTelemetry Optional
I was not 100% satisfied. If you scroll back up and study the first JSON snippet you will see what I mean. Yes, OpenTelemetry. I wanted to configure what NuGet package, what configuration code in the Program.cs, and what project to be referenced in the solution file (the .sln file).
The include-opentelemetry is a boolean parameter. I wanted to include and exclude the whole OpenTelemetry when I needed to. Some of you may have done this before, where you can use #if along with the DEBUG symbol to ensure a block of code only runs during a debug build. I think it’s called conditional compilation directives or preprocessor directives. In Rider I had to do it slightly differently. I wrapped the OpenTelemetry configuration block in Program.cs and did exactly the same in the .csproj with the #if along with the condition:
//#if(include-opentelemetry)
builder.Logging.AddOpenTelemetry(options =>
{
    // whatever config you want...
});
//#endif
And in the .csproj:
<!--#if(include-opentelemetry)-->
<PackageReference Include="OpenTelemetry.Extensions.Hosting" Version="1.16.0" />
<PackageReference Include="OpenTelemetry.Instrumentation.AspNetCore" Version="1.16.0" />
<!--#endif-->
With the C# and .csproj conditions wired up, the template felt complete. It wasn’t. The .sln file had one more surprise waiting for me.
One Last Landmine: The Projects That Wouldn’t Die
At this stage I genuinely realised that there is often room to get the best out of a solution you have. I found a solution to my original problem, but then created more problems from that solution. I stopped, went back to basics, and realised there was more I could get out of it — and that’s how I found the gem.
When the first Vertical Slice solution was created from the new template engine configuration, I noticed a weird behaviour in the solution. All the Clean Architecture projects that were successfully excluded by the conditions in the config file were still being unsuccessfully loaded, staying in the solution with a failed to load message next to each. I got a bit panicked and thought excluding the projects doesn’t work very well. I was wrong. In the template solution, I took the same approach as I did in the .csproj file and applied it to the .sln file, using the same conditions on the projects I wanted included or excluded.
Below is how I did it - simplified:
#if(architecture == "clean-architecture")
Project("{FAE04EC0-301F-11D3-BF4B-00C04F79EFBC}") = "Simple.Template.Core", "Simple.Template.Core\Simple.Template.Core.csproj", "{6A0090C7-B8F3-4CF9-959D-A423695234D8}"
EndProject
#endif
Note: Did not need to do
\\in the.slnfile before the#if.
That’s it - one template, four architectural personalities, and zero extra repos to maintain. What took me four separate templates (and four separate headaches every time a NuGet package needed a security patch) now lives in a single, configurable source of truth.
If you’re maintaining more than one .NET template for what is essentially the same solution shape with different flavours, this is worth the afternoon it takes to set up. I’ll drop the full template.json and the consolidated template repo in a follow-up so you can see the whole thing end to end - and if you try this yourself, let me know what conditions you end up building.